
 -0%
-0%

FabConstruct Printing surface 203 x 203 mm
Print bed coating tape for Raise3D E2, Pro2, and N2 series, and Craftbot Flow IDEX
203x203 mm, 330x340 mm, 368x254 mm, 425x260 mm, 348x369 mm
- Manufacturer: FabConstruct
- Manufacturer number: 95489
- EAN: 4260629954894
- Item number: 95489
- Availability: from stock > delivery time 1-3 working days

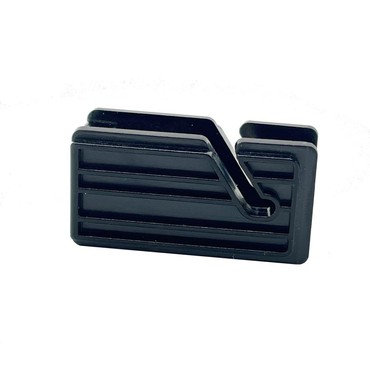
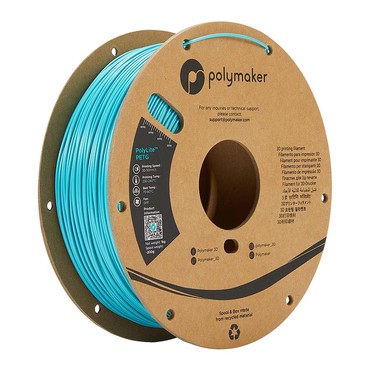
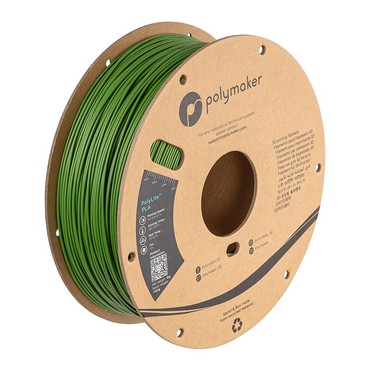
The FabConstruct print bed coating provides a durable, stable surface while preventing the model from warping or detaching from the print bed.
The coating consists of a uniquely textured sheet that attaches easily to your build platform using a heat-resistant adhesive backing.
We are constantly testing new materials. Here is a list of just a few materials that have been successfully printed...
ABS, PLA, HIPS, PET
colorFabb_XT, colorFabb nGen, colorFabb_HT, colorFabb XT-CF20 (Carbon)
Woodfill, Bronzefill, Copperfill, Brassfill
Polymaker PC-Plus (Polycarbonate), Polymaker PC-Max (Polycarbonate), Polymaker PolyFlex, Ninjaflex
FabConstruct print bed coatings are ideal for the Flashforge Guider 3 Ultra and Raise3D E2 / Pro2 / Pro3 / Craftbot Flow Series
Größen:
- 203 x 203 mm (for e.g. XYZprinting da Vinci Pro / Pro 3in1)
- 330 x 340 mm (for Raise3D Pro2/Pro2 Plus and N2/N2 Plus)
- 348 x 369 mm
fits Flashforge Guider 3 Plus / Flashforge Guider 3 Ultra
Raise3D Pro3/Pro3 Plus)
- 368 x 254 mm (for Raise3D E2)
- 425 x 260 mm (for Craftbot Flow IDEX / IDEX XL)
Technical notes on use
Printing on FabConstruct surfaces may differ from printing on masking tape or Kapton film. Experienced users often use a thicker initial layer to ensure optimal adhesion to the print bed. This is not necessary with the FabConstruct printing surface, as prints often adhere "too well" in this case.
Please use a larger nozzle gap for your initial test prints to avoid damaging the print bed. If prints stick too strongly, the distance to the build plate is likely too small. We therefore recommend starting with a nozzle gap of at least 0.20–0.25 mm.
If the first layer does not adhere well enough—which will be immediately apparent—you can gradually reduce the height until it sticks. It is better for the initial test prints not to adhere than for them to stick too strongly.
Once you have found the optimal setting, you can reuse the FabConstruct print bed sheet for several hundred hours.
Hier ist die Schritt-für-Schritt-Anleitung, wie du dein Druckbett startklar machst:
1. Vorbereitung (Der wichtigste Teil)
- Bevor du überhaupt an die Folie denkst, muss das Druckbett absolut sauber sein.
- Reinigen: Entferne Klebereste, Fett oder Staub mit Isopropanol (70% oder höher) oder Aceton (nur bei Glas- oder Metallbetten!).
- Abkühlen: Das Druckbett muss zwingend Raumtemperatur haben. Klebst du auf ein heißes Bett, dehnt sich die Folie ungleichmäßig aus oder der Kleber zieht sofort an, bevor du korrigieren kannst.
2. Das Ausrichten
- Lege die Folie erst einmal mit der Schutzschicht nach unten auf das Bett, um die Passform zu prüfen.
- Tipp: Wenn die Folie etwas zu groß ist, lass sie lieber hinten und an einer Seite leicht überstehen. Du kannst sie nach dem Aufkleben vorsichtig mit einem Cuttermesser bündig abschneiden.
3. Das Aufkleben (Die „Roll-Technik“)
- Vermeide es, die gesamte Schutzfolie auf einmal abzuziehen. Das führt fast immer zu Blasen.
- Anfang fixieren: Ziehe etwa 2–3 cm der Schutzfolie an einer der kurzen Kanten ab.
- Positionieren: Klebe diesen schmalen Streifen präzise an der vorderen oder hinteren Kante deines Druckbetts fest.
- Schrittweises Arbeiten: Ziehe nun mit einer Hand langsam die Schutzfolie unter der FabConstruct Folie hervor, während du mit der anderen Hand (oder einer Rakel / Scheckkarte) die Folie von der Mitte nach außen feststreichst. Druck ausüben: Arbeite dich langsam Zentimeter für Zentimeter vor.
4. Nachbearbeitung
- Blasen checken: Sollten kleine Luftblasen entstanden sein, versuche sie zum Rand hin auszustreichen. Wenn das nicht geht, kannst du sie vorsichtig mit einer sehr feinen Nadel anstechen und flachdrücken.
- Trimmen: Schneide überstehende Ränder mit einem scharfen Cuttermesser ab, damit die Folie nicht an den Achsen des Druckers hängen bleibt.
5. Ganz wichtig: Z-Offset neu einstellen! Da die FabConstruct-Folie eine gewisse Dicke hat, ist dein Düsenabstand jetzt falsch.
- Leveling: Du musst dein Druckbett neu nivellieren (leveln).
- Abstand: FabConstruct haftet extrem gut. Wenn die Düse zu nah dran ist, kriegst du den Druck später fast nicht mehr runter oder beschädigst die Folie beim ersten Versuch.
- Manufacturer
- Fabistron GmbH
- Juetrichauer Strasse 3, 39261 Zerbst / Anhalt, Germany
- support@fabistron.de
- +49 3923 610070
- https://www.fabistron.de/